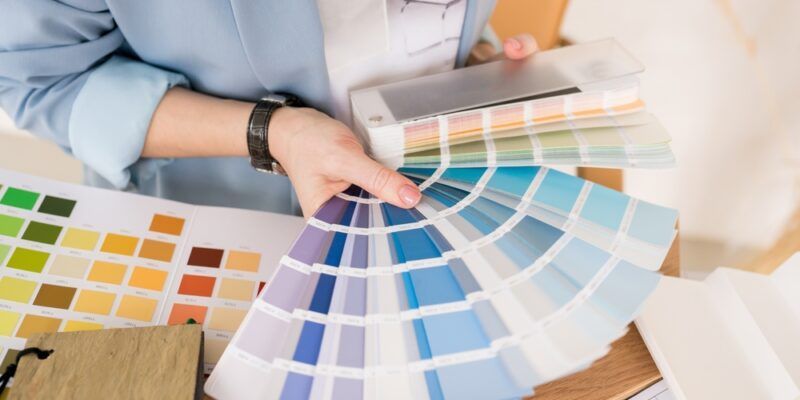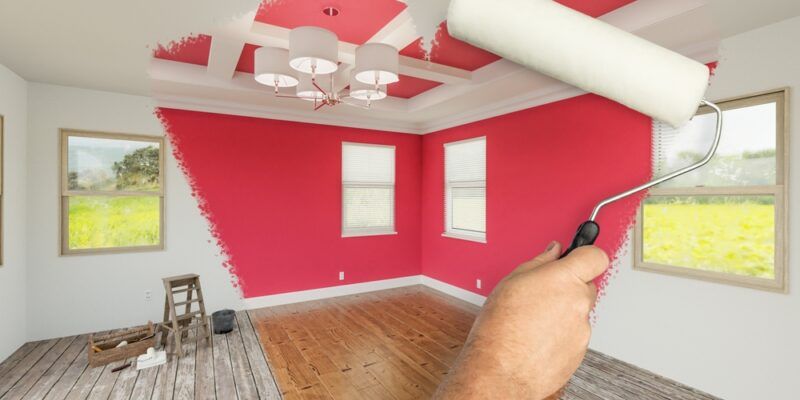
What You Need to Do Before Painting Your Home
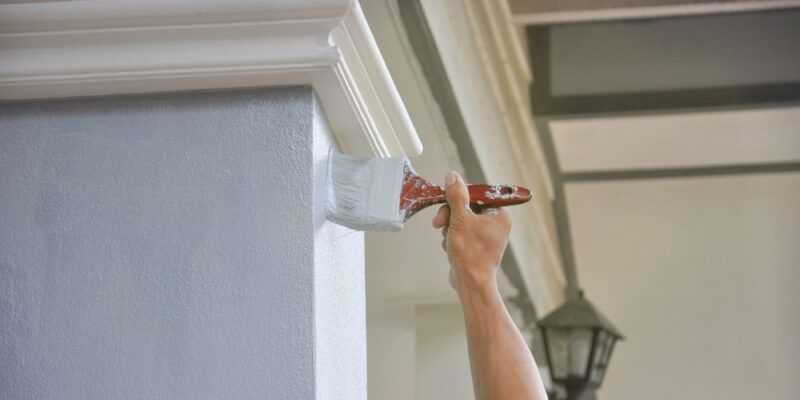
There’s nothing quite like a fresh coat of paint to quickly spruce up the exterior of a home. It’s a task that you may be able to handle yourself, should you have the right tools, experience and motivation. (It doesn’t hurt to have a little help, too.)
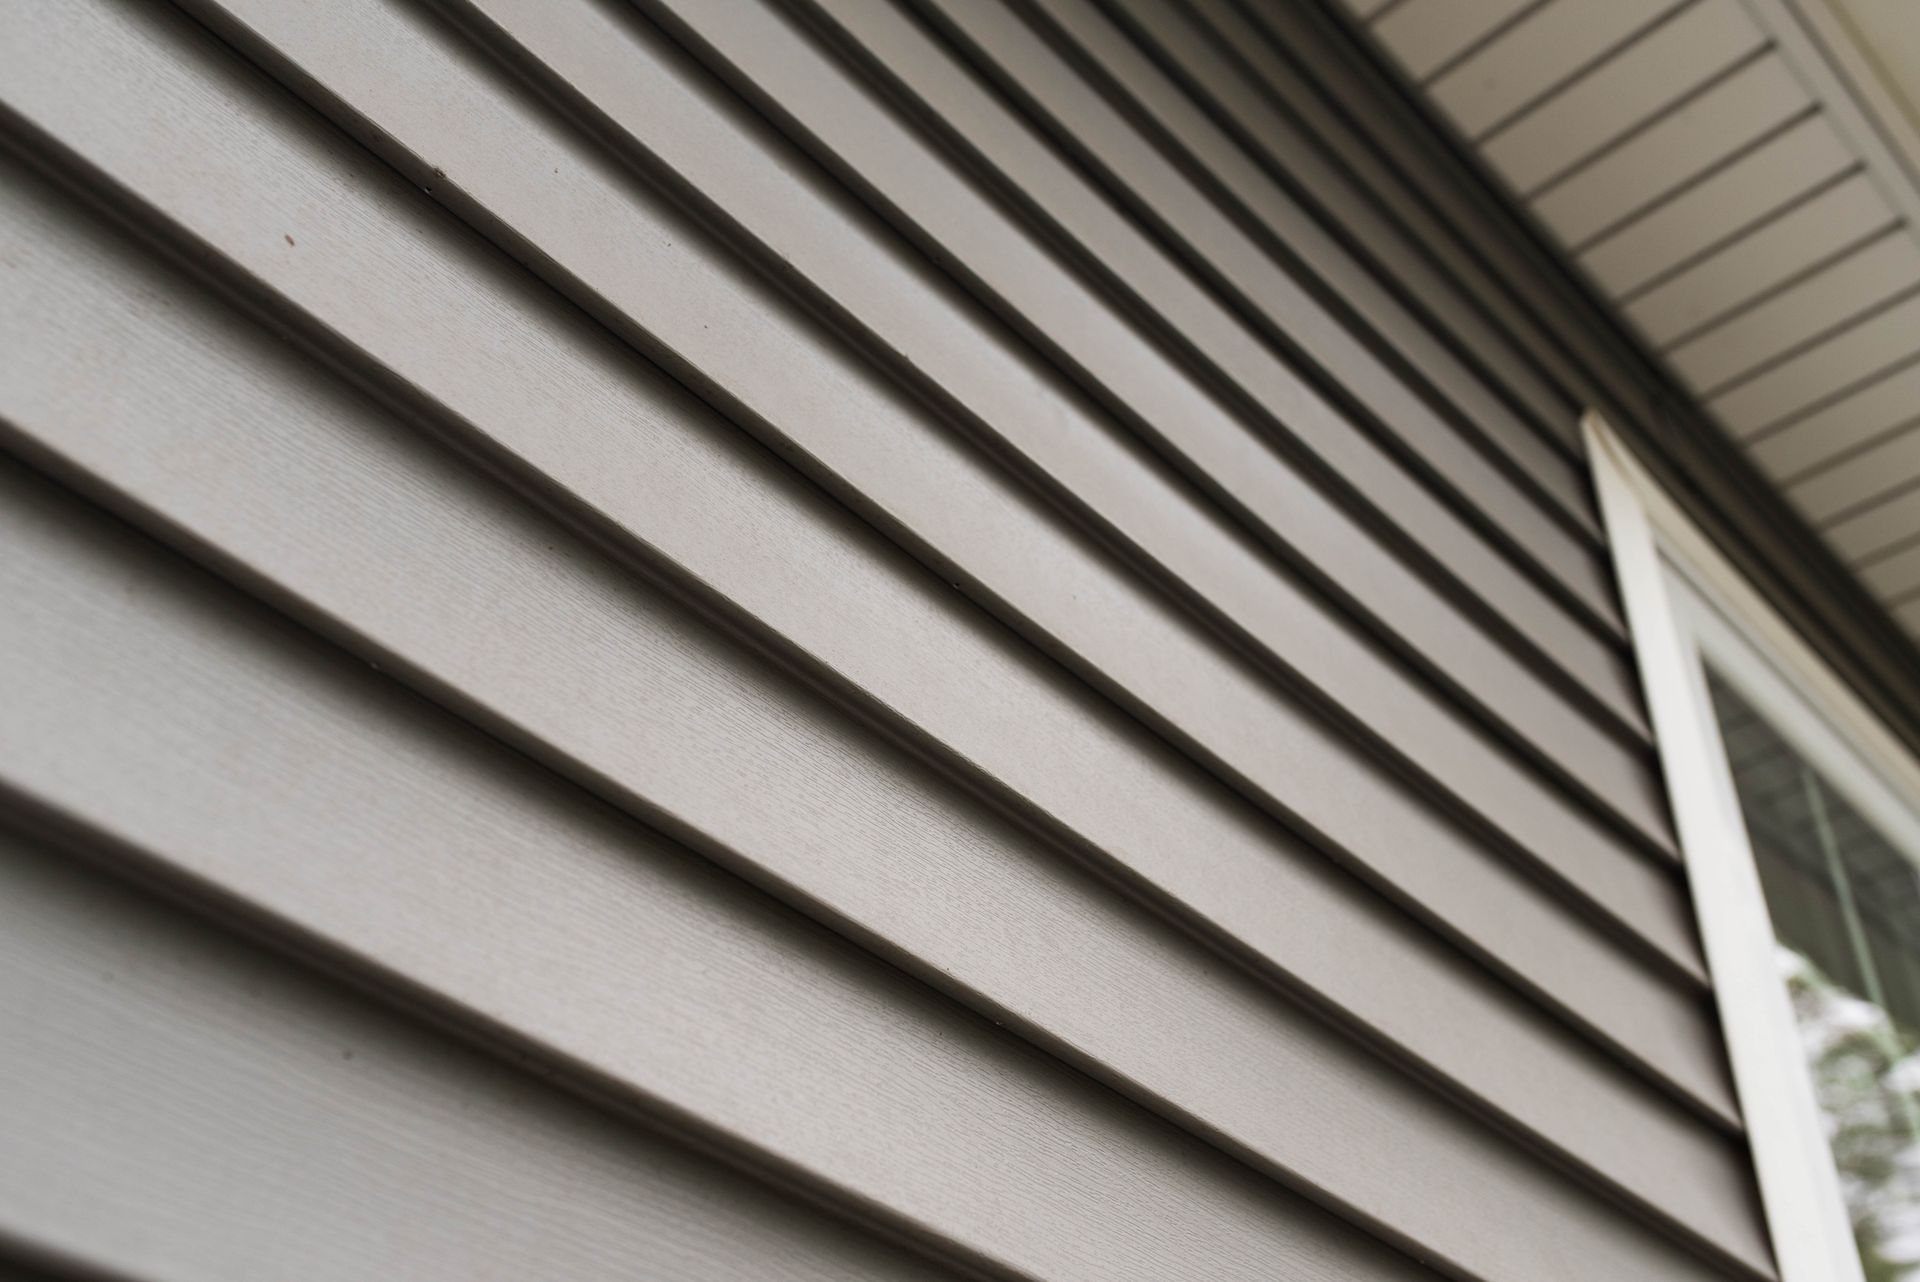
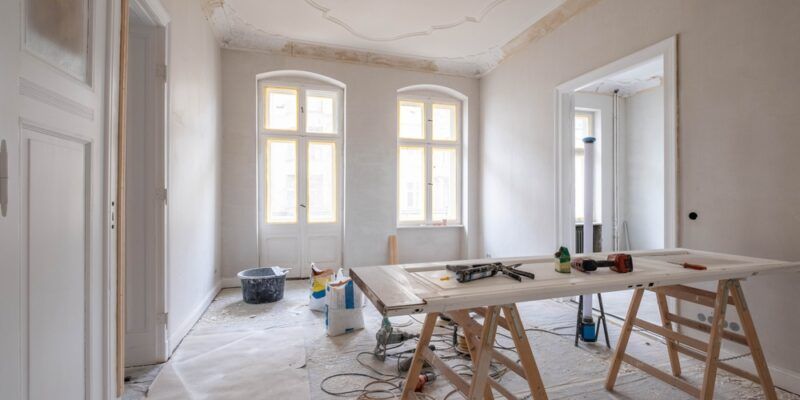
Just like any painting job, there are preparations that need to be made before painting your home in Pensacola, FL. It’s said that most of the work that goes into painting is put into preparation, so it’s a good idea to pay extra attention to this process. If you take the right precautions before starting the actual painting portion of the project, you will save time overall and the end result will wind up looking better.
Here are some of the preparations that need to be made before painting your home in Pensacola, FL.
Cover anything near the walls of the house
Paint can get messy, so be sure to cover anything near the walls of the house. This includes air conditioner units, sheds, fences, and nearby plants and bushes. You should also tie back or trim any bushes and tree limbs that may get in the way of the painting process. A drop cloth or tarp should be sufficient to cover any plants.
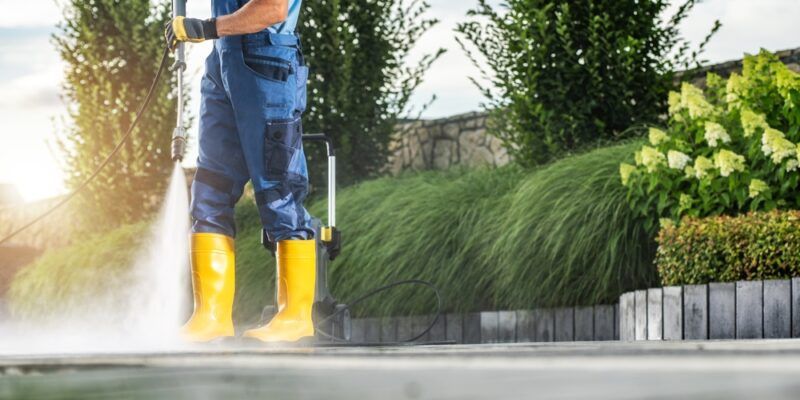
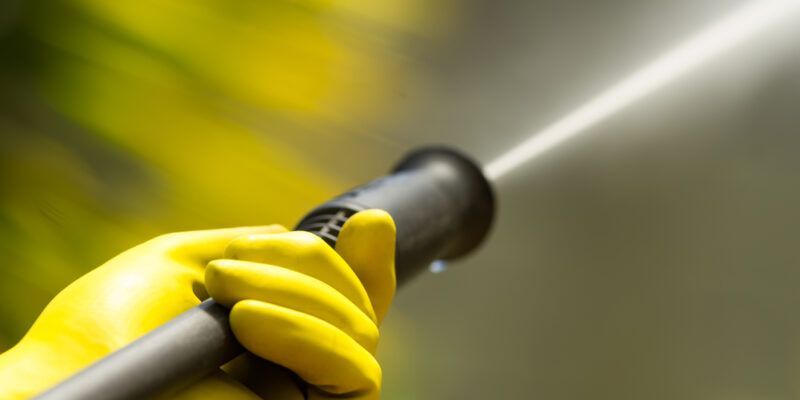
Scrub the walls
Since dirt and grime can keep paint from sticking to a surface, the surface you’re painting should always be clean before any paint touches it. To clean the outside of your home, scrub the siding and trim with a trisodium phosphate (or phosphate-free substitute) using a brush or broom. This can also be done with a pressure washer as long as water doesn’t find its way into cracks between the siding.
You should also remove any paint that is loose or flaking off. Be aware that paint made before 1978 likely contains lead, so if it’s been that long since your home was last painted, be sure to take proper precautions for removal and disposal.
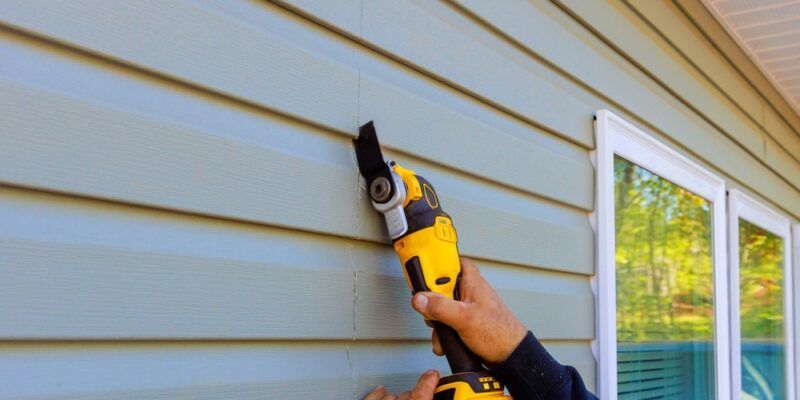
Repair blemishes
Another one of the preparations that needs to be made before painting your home in Pensacola, FL is to repair any blemishes on the siding and trim. Look for holes, cracks and other imperfections and repair them as needed. You can fill holes with wood filler and sand it smooth once dry. Also be sure to remove shutters and storm windows before starting to paint.
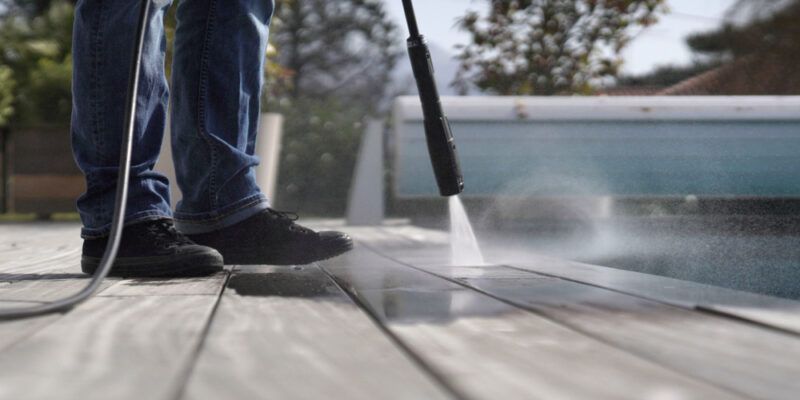
Final rinse
As a final step, rinse the home with a hose until the runoff is clear. If you used a trisodium phosphate solution, it might be a good idea to rinse that area twice just to be sure it is all gone. Let it dry completely (two days should do it) before painting.
Call a professional
If this seems like a lot of work, don’t worry! You can always have a professional tackle this project for you. Get in touch with the pros at Fresh Start Painting Inc. to get started on your next house painting project today. We look forward to assisting you!