The Importance of Proper Surface Preparation Before Painting
When it comes to painting any surface, whether it’s your home’s walls, a piece of furniture, or an industrial space, the phrase “proper surface preparation before painting” cannot be overstated. A well-prepared surface is the foundation of a professional, long-lasting finish. Without proper preparation, even the most expensive paints and skilled techniques can fail, resulting in peeling, chipping, or uneven finishes.
Below, we’ll delve into why surface preparation for paint is essential, the steps involved, and how to ensure a flawless final product.
Why Proper Surface Preparation Before Painting Matters
Enhances Paint Adhesion
One of the primary reasons to prepare a surface before painting is to ensure optimal adhesion. Paint adheres best to clean, smooth, and dry surfaces. Without adequate preparation, the paint might not bond well, leading to bubbling, flaking, or peeling over time.
Extends the Lifespan of Paint
A poorly prepared surface can cause paint to deteriorate prematurely. Proper surface preparation removes contaminants like dirt, grease, and old paint residues, creating a strong base. This step can significantly extend the lifespan of your paint job, reducing the need for frequent maintenance or reapplication.
Achieves a Professional Finish
Surface preparation for paint directly impacts the aesthetic outcome. Properly prepared surfaces are smooth, free from imperfections, and uniform, allowing the paint to glide on effortlessly. This ensures the final result looks polished and professional, whether it’s a matte wall or a glossy cabinet.
Prevents Common Paint Problems
Skipping or skimping on surface preparation can lead to issues such as:
- Peeling and Flaking: When paint is applied to dirty or damp surfaces.
- Cracking: Due to uneven or overly thick applications on unprimed surfaces.
- Blistering: Caused by trapped moisture or contaminants.
Proper surface preparation before painting helps avoid these pitfalls, saving time and resources in the long run.
Key Steps for Surface Preparation Before Painting
Achieving a flawless paint job begins with meticulous preparation. Below are the essential steps for preparing any surface for paint:
1. Cleaning the Surface
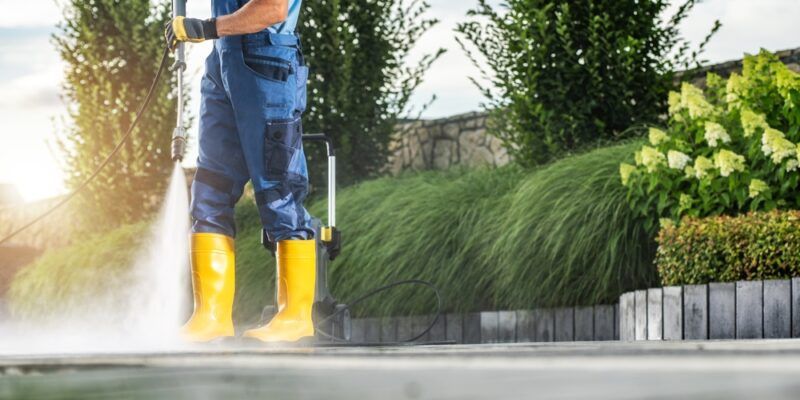
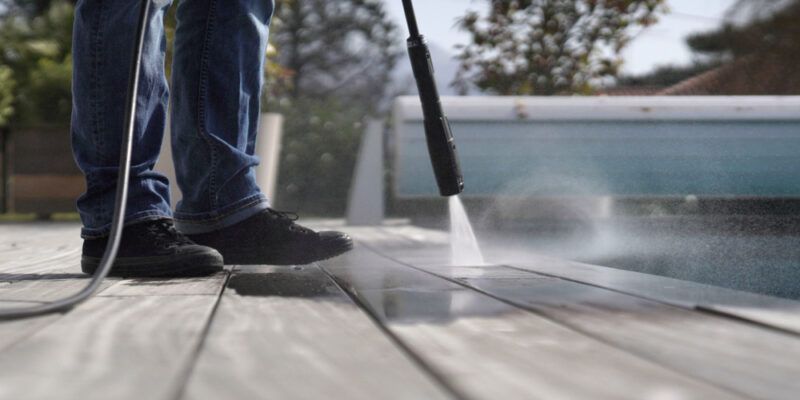
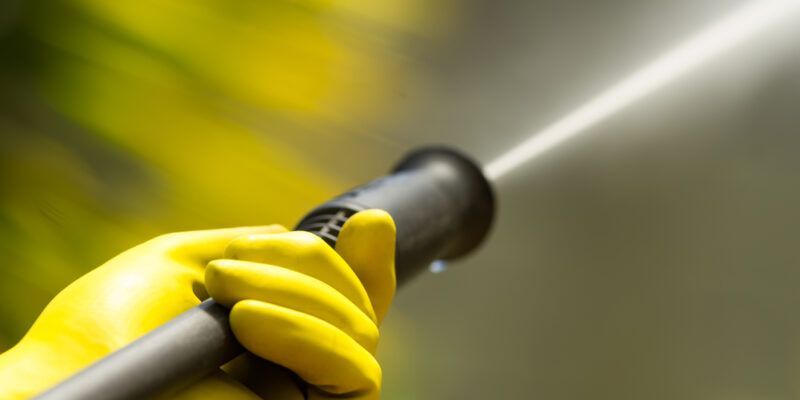
Dirt, grease, and grime are the enemies of good paint adhesion. Use a mild detergent solution or a degreaser to clean the surface thoroughly. For outdoor areas, pressure washing can be an efficient option.
Tips:
- For walls, focus on areas prone to stains, like kitchens or near light switches.
- Allow the surface to dry completely before proceeding.
2. Repairing Imperfections
Cracks, holes, and uneven textures can ruin the final finish. Patch any holes with spackle or filler, sand down rough areas, and repair damaged sections.
Tools Needed:
- Putty knife
- Sandpaper or sanding blocks
- Patch compounds for larger repairs
3. Removing Old Paint
For surfaces with existing paint, it’s essential to remove loose or flaking sections. Use a paint scraper, wire brush, or chemical paint stripper as needed. Sanding can smooth out the edges and create a uniform base.
4. Sanding the Surface
Sanding is a critical step for ensuring paint adheres properly. It removes minor imperfections and provides a slightly roughened texture for the paint to grip.
Pro Tip:
- For wood, use fine-grit sandpaper (180-220 grit).
- For metal, opt for medium-grit sandpaper and ensure the surface is free of rust.
5. Priming the Surface
Primers are often overlooked but are crucial for a professional finish. They create a seal, block stains, and improve paint adhesion.
Types of Primers:
- Oil-Based: Ideal for wood and high-moisture areas.
- Water-Based (Latex): Suitable for drywall and less porous surfaces.
- Specialty Primers: Designed for specific surfaces like metal or plastic.
6. Protecting Surrounding Areas
Before painting, cover nearby surfaces with drop cloths, painter’s tape, or plastic sheeting. This minimizes accidental splatters and ensures a clean workspace.
Different Surfaces Require Different Preparation Techniques
Surface preparation for paint varies depending on the material being painted. Here’s how to approach some common surfaces:
Drywall
- Remove dust and debris.
- Patch holes with joint compound and sand smooth.
- Prime to cover any stains or discolorations.
Wood
- Sand to remove old finishes and smooth the grain.
- Clean to remove dust and grease.
- Apply a wood primer for better adhesion.
Metal
- Remove rust using a wire brush or rust converter.
- Sand to create a slightly rough surface.
- Use a primer specifically designed for metal to prevent corrosion.
Concrete
- Clean thoroughly to remove grease, oil, or efflorescence.
- Patch any cracks or holes with concrete filler.
- Apply a masonry primer to enhance adhesion and coverage.
Benefits of Investing Time in Surface Preparation
Saves Money Over Time
While surface preparation may seem time-consuming, it prevents costly rework and ensures a longer-lasting paint job. This makes it a smart investment for both DIYers and professionals.
Improves Durability
Proper preparation ensures the paint forms a strong bond with the surface, making it more resistant to environmental factors like moisture, UV rays, and temperature fluctuations.
Boosts Curb Appeal
For homeowners, a well-prepared and painted surface can significantly enhance the aesthetic and resale value of a property.
Common Mistakes to Avoid During Surface Preparation
Even with the best intentions, mistakes during preparation can compromise the final result. Here are some common pitfalls to watch out for:
Skipping Cleaning
Even if a surface looks clean, invisible contaminants like oils or dust can interfere with adhesion. Always clean thoroughly.
Neglecting Primer
Applying paint without primer may result in uneven color, poor coverage, and reduced durability. Use a primer suited to the surface and paint type.
Inadequate Drying Time
Rushing through the drying process between cleaning, patching, or priming steps can lead to moisture-related paint issues. Be patient and follow manufacturer guidelines.
Using the Wrong Materials
From fillers to primers, using the wrong products can affect the quality of your preparation. Choose materials specifically designed for the surface type and conditions.
A Foundation for Success
Proper surface preparation before painting is the cornerstone of any successful paint job. Whether you’re refreshing a single wall or tackling a large-scale project, investing time in preparation will pay off in terms of durability, aesthetics, and overall satisfaction.
By following the steps outlined above and avoiding common mistakes, you can ensure your painting efforts are rewarded with a flawless, long-lasting finish. Remember, when it comes to painting, the quality of the outcome is only as good as the preparation that goes into it.
So, the next time you pick up a paintbrush or roller, prioritize surface preparation for paint—and enjoy the stunning results!
Need Residential and Commercial Painting in Pensacola Beach, FL?
Welcome to Fresh Start Painting Inc.! Fresh Start Painting Inc. is a family-owned and -operated painting contractor in Pensacola, Florida! With over 20 years of experience, you can rely on us for any residential or commercial work. We are ready to help with any and all interior and exterior painting, pressure washing, drywall repair, and more! Here at Fresh Start Painting Inc., we believe in honesty, integrity, and excellent customer service. With each and every project, we strive to exceed our customers’ expectations. The proof is in our painting! Leave all your painting, staining, and drywall repairs to the experts. Contact us today to learn more about what we can do for you!
