The Ultimate Guide to Prepping Your Home for Painting
 Painting your home
is an exciting and transformative project that can breathe new life into any space. Whether you’re giving your walls a fresh coat, updating trim, or completely changing the color scheme, proper preparation is essential for achieving a professional-looking finish. In this guide, we will walk you through all the steps to ensure your home is prepped and ready for a flawless paint job.
Painting your home
is an exciting and transformative project that can breathe new life into any space. Whether you’re giving your walls a fresh coat, updating trim, or completely changing the color scheme, proper preparation is essential for achieving a professional-looking finish. In this guide, we will walk you through all the steps to ensure your home is prepped and ready for a flawless paint job.
1. Clear the Space:
Before embarking on any painting project, it’s crucial to clear the room of furniture, decor, and any other items that could potentially get in the way. This will not only prevent accidental paint spills but also provide you with ample working space to maneuver around without any hindrances.
2. Protect Your Floors:
Next, protect your floors from paint drips and spills by laying down drop cloths or plastic sheets. These inexpensive and easy-to-use floor coverings will save you from the headache of trying to remove paint stains from carpets or hardwood floors.
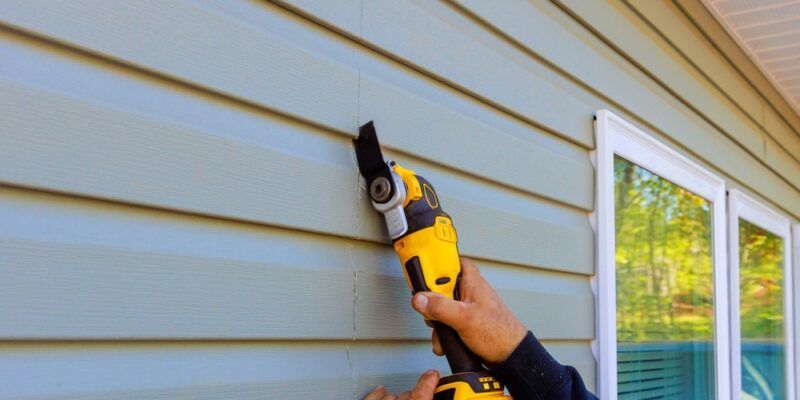
3. Repair and Prep Walls:
Inspect your walls for any cracks, holes, or imperfections that need attention. Use a putty knife to scrape away loose paint or spackle over any small holes or dents. For larger holes or cracks, it may be necessary to apply a drywall patch or joint compound. Sand the repaired areas and wipe away any dust with a damp cloth to ensure a smooth and even surface.
4. Wash and Clean Walls:
Properly cleaning your walls is a critical step in achieving a polished paint finish. Remove any dirt, grease, or stains by washing them with a mild detergent and warm water solution. Be sure to rinse thoroughly and allow the walls to dry completely before moving on to the next step.
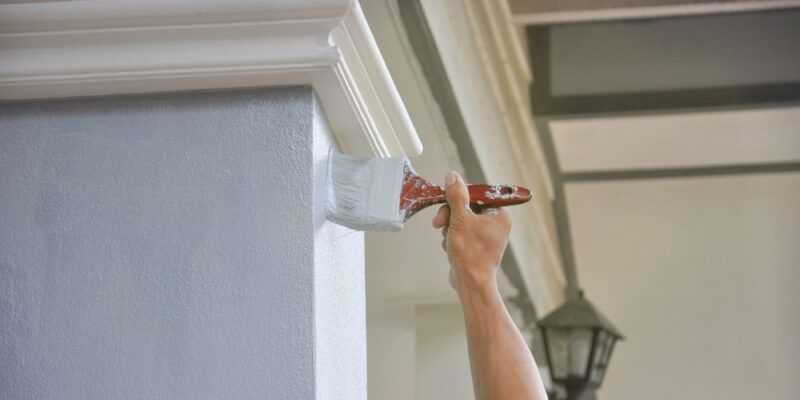
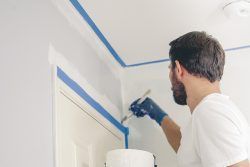
5. Tape Trim and Cover Fixtures:
To protect trim, baseboards, and any other areas you don’t want to paint, apply painter’s tape along the edges. It’s essential to take your time and press the tape firmly to create a tight seal, ensuring clean, crisp lines. Additionally, cover light fixtures, electrical outlets, and switches with masking tape or plastic bags to prevent any accidental paint splatters.
6. Prime the Walls:
Priming your walls is a step often overlooked but can make a significant difference in the overall appearance of your paint job. A coat of primer will not only cover up any old paint colors but also provide a smooth base for the new paint to adhere to. Choose a primer that suits your specific needs, whether it’s stain-blocking, high-hide, or multi-surface.
7. Use High-Quality Paint and Tools:
Investing in high-quality paint and tools is essential for achieving a professional finish that withstands the test of time. Good brushes and rollers will ensure smooth application, while premium paint will provide better coverage and durability.
8. Start with a Cut-In:
Before painting the entire wall, begin with a technique called cut-in. This involves painting along the edges and corners of the walls where rollers or larger brushes won’t reach. Use a smaller brush to create clean lines and a seamless transition with the roller.
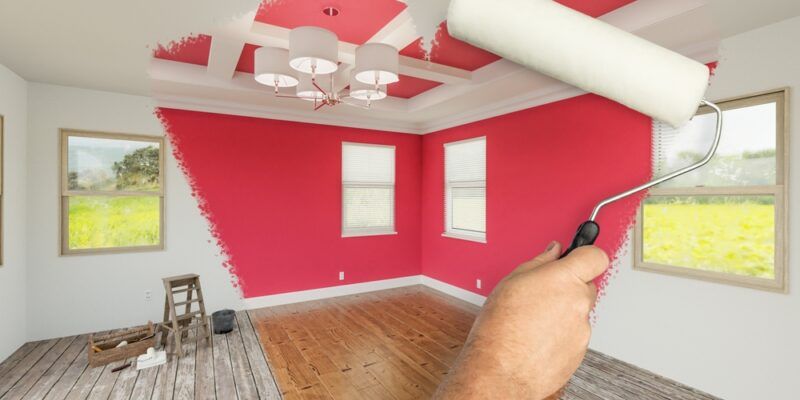
9. Apply Multiple Coats:
To achieve a rich and vibrant color, multiple coats of paint may be necessary. It’s important to allow each coat to dry completely before applying the next. This will ensure a smooth and even coverage. Follow the manufacturer’s instructions regarding drying times between coats.
10. Clean Up:
Once you’ve completed your painting project, it’s crucial to clean up properly to preserve your tools and maintain a tidy space. Clean brushes and rollers with warm, soapy water or the recommended cleaning solution for your specific paint type. Remove tape and plastic coverings carefully to avoid any damage to freshly painted surfaces.
Summary
Thorough preparation is the key to a successful painting project. By following these steps, you can ensure your home is prepped and ready for a flawless paint job. Take the time to clear the space, protect your floors, repair and prep your walls, clean them thoroughly, tape off areas, prime the walls, use quality paint and tools, start with a cut-in, apply multiple coats, and clean up properly. With these tips, you’ll be well on your way to transforming your home with a professional-looking paint job.
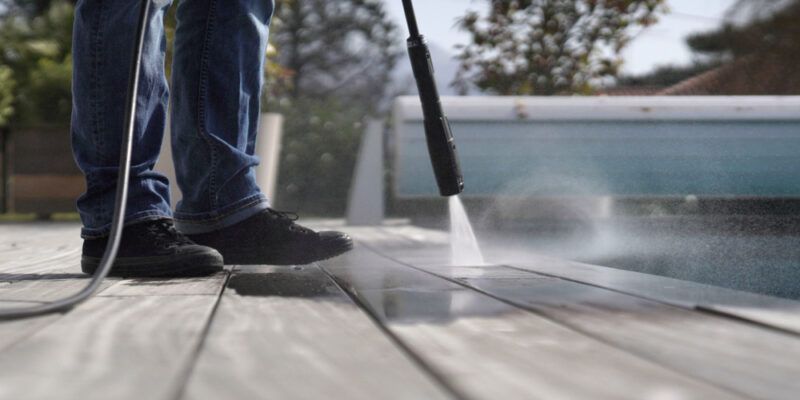
Need Residential and Commerical Painting in Pensacola, FL?
Welcome to Fresh Start Painting Inc.! Fresh Start Painting Inc. is a family-owned and -operated painting contractor in Pensacola, Florida! With over 20 years of experience, you can rely on us for any residential or commercial work. We are ready to help with any and all interior and exterior painting, pressure washing, drywall repair, and more! Here at Fresh Start Painting Inc., we believe in honesty, integrity, and excellent customer service. With each and every project, we strive to exceed our customers’ expectations. The proof is in our painting! Leave all your painting, staining, and drywall repairs to the experts. Contact us today to learn more about what we can do for you!