How to Properly Prep Walls for Painting
When it comes to painting the walls in your home , proper preparation is key to achieving a professional finish. Prepping your walls before painting will not only ensure a smooth and clean surface but also help the paint adhere better and last longer. In this blog post, we will discuss the steps you need to take to properly prep your walls for painting.
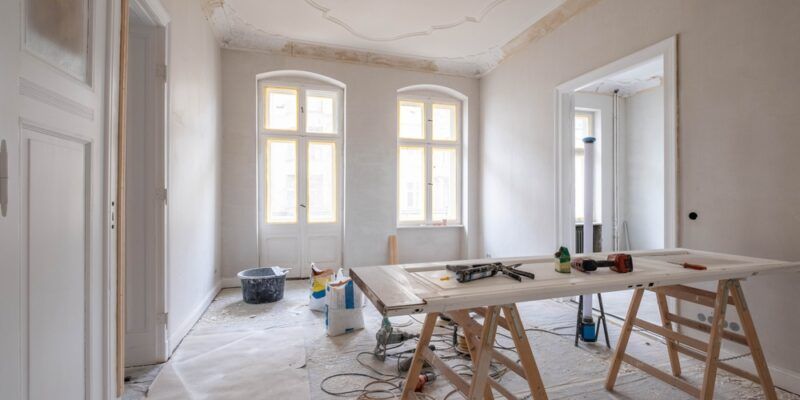
Removing Furniture and Protecting Floors and Trim
The first step in prepping your walls for painting is to remove any furniture from the room or push it to the center and cover it with drop cloths. This will prevent any paint splatters or drips from ruining your furniture. Additionally, you should protect your floors and trim by covering them with drop cloths or painter’s tape. This will prevent any paint from getting on surfaces that you don’t want painted.
Cleaning the Walls
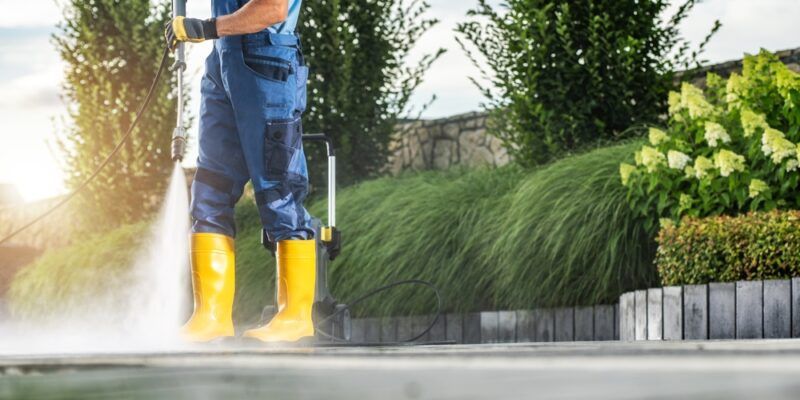
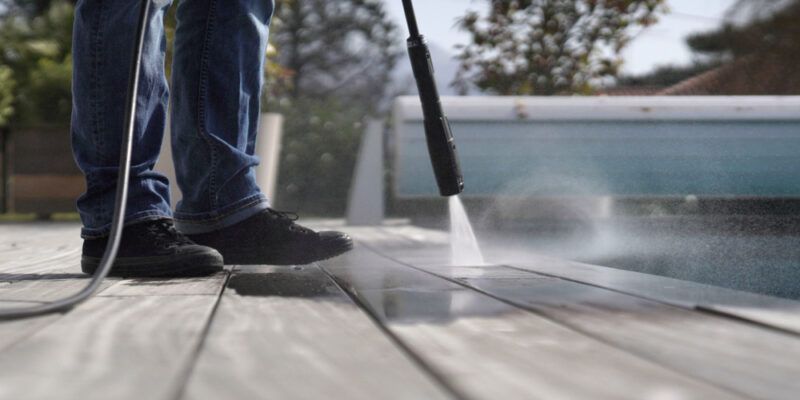
Before you can start painting, you need to make sure that your walls are clean. Dust, dirt, and grease can prevent the paint from adhering properly to the walls. To clean your walls, start by dusting them with a dry cloth or vacuuming them with a soft brush attachment. If your walls are particularly dirty, you may need to wash them with a mild detergent and water solution. Be sure to rinse the walls thoroughly and allow them to dry completely before painting.
Repairing Damaged Areas
Next, inspect your walls for any cracks, holes, or other imperfections that need to be repaired. Use spackling compound to fill in any holes or cracks, and sand the area smooth once the compound has dried. For larger holes or damaged areas, you may need to use a patching compound or joint compound. Be sure to sand the repaired areas smooth before painting.
Sanding the Walls
Once your walls are clean and repaired, it’s time to sand them to create a smooth surface for painting. Use a fine-grit sandpaper to sand the walls lightly, focusing on any rough or uneven areas. Sanding will also help to remove any gloss or sheen from the walls, allowing the paint to adhere better. Be sure to dust off the walls after sanding to remove any sanding residue.
Applying Primer
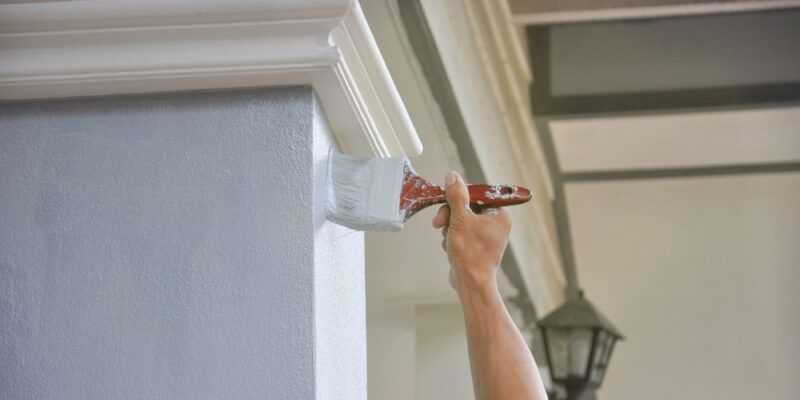
Before you can start painting, it’s important to apply a coat of primer to your walls. Primer not only helps the paint adhere better but also covers any imperfections and ensures a more even finish. Choose a primer that is suitable for the type of paint you will be using (e.g., latex primer for latex paint). Apply the primer with a brush or roller, making sure to cover the entire surface evenly. Allow the primer to dry completely before painting.
Choosing the Right Paint
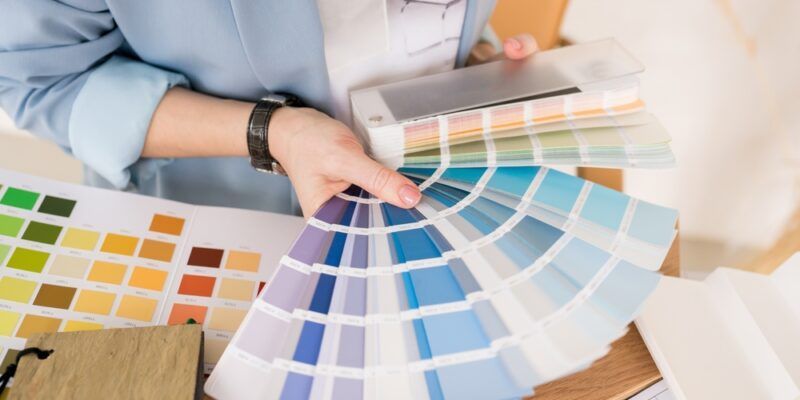
When it comes to painting your walls, choosing the right paint is crucial. Consider factors such as the sheen, color, and quality of the paint. Matte or flat finishes are great for hiding imperfections, while semi-gloss or gloss finishes are more durable and easy to clean. Be sure to choose a high-quality paint that is suitable for the surface you will be painting.
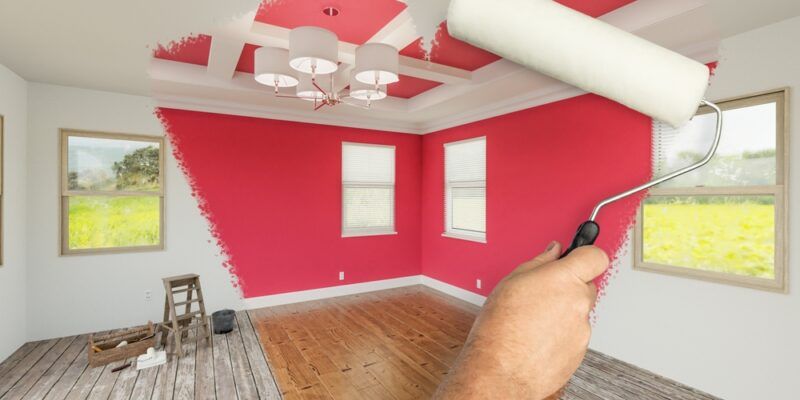
Painting the Walls
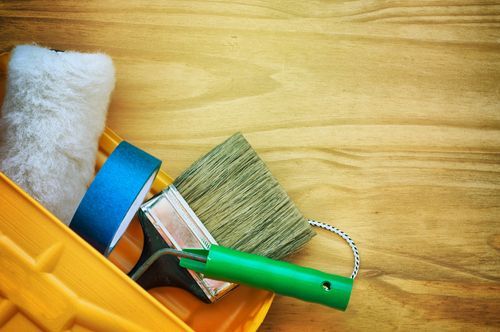
Finally, it’s time to paint your walls! Start by cutting in the edges of the walls with a brush, painting around trim, corners, and edges. Then, use a roller to paint the rest of the walls, working in small sections and overlapping each stroke to ensure even coverage. Be sure to apply multiple thin coats of paint rather than one thick coat. Allow each coat to dry completely before applying the next one.
Cleaning Up
Once you have finished painting your walls, it’s important to clean up properly. Remove any painter’s tape and drop cloths, and clean your brushes and rollers with warm, soapy water. If you have leftover paint, make sure to seal the can properly and store it in a cool, dry place. Finally, admire your freshly painted walls and enjoy the new look of your room!
Summary
Properly prepping your walls for painting is essential to achieving a professional finish. By following these steps – removing furniture, protecting floors and trim, cleaning the walls, repairing damaged areas, sanding, applying primer, choosing the right paint, painting the walls, and cleaning up – you can ensure that your walls are ready for a fresh coat of paint. With a little time and effort, you can transform your space and create a beautiful new look for your home.
Need Residential and Commerical Painting in Pensacola, FL?
Welcome to Fresh Start Painting Inc.! Fresh Start Painting Inc. is a family-owned and -operated painting contractor in Pensacola, Florida! With over 20 years of experience, you can rely on us for any residential or commercial work. We are ready to help with any and all interior and exterior painting, pressure washing, drywall repair, and more! Here at Fresh Start Painting Inc., we believe in honesty, integrity, and excellent customer service. With each and every project, we strive to exceed our customers’ expectations. The proof is in our painting! Leave all your painting, staining, and drywall repairs to the experts. Contact us today to learn more about what we can do for you!